
Once you get this down, the possibilities are endless. So many crafting ideas!
Cost:
- Free (I'm assuming you already have a wood project that you're transferring to, so I'm not including that in the cost. Also, it's nigh unto impossible to cost out the price of one sheet of paper and some black printer ink... since I always have these things on hand and didn't have to purchase them for the project, I consider the total cost for this project free.)
Materials:
- inkjet printer
- printer paper (I used 20# printer/copier paper)
- blunt, rounded object (such as a sharpie marker lid)
- Microsoft Word 2007 program
- Snipping Tool program (comes with Windows 7 or higher operating systems for PC's)
- water
- paintbrush or sponge
- black acrylic craft paint, optional
- tiny paint brush, optional
- clear topcoat or sealer, optional
Notes:
- This transfer works best on unfinished wood, or wood that has been stained (but not varnished), or painted with acrylic craft paint or interior oil based wall paint.
- If you're planning to transfer the ink to a wood item that will be used outdoors at all, you may want to protect the finished item with some type of polyurethane or clear sealant topcoat of your choice.
Step 1: Design your transfer

Open up Word and enter your desired text in the font/size you want. Bold fonts work best.
Step 2: Create an image

Open the Snipping Tool (usually found on the start menu, or use your start menu search field).

Use your mouse to click and drag the cursor across and down your text to capture the image.
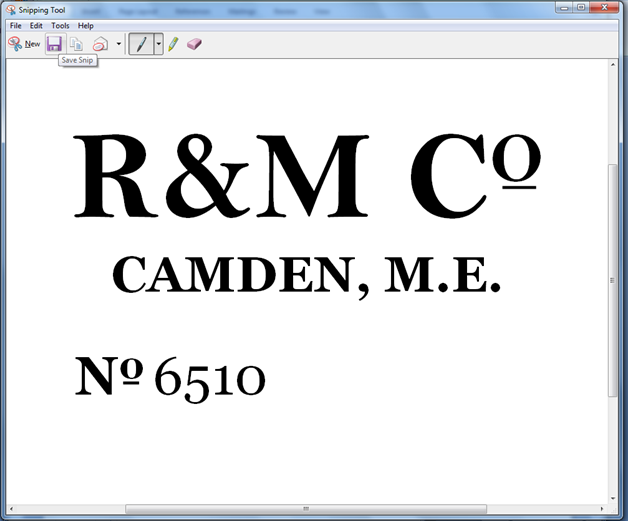
When you release your mouse, the snipped image will come up automatically. You can save the image if you'd like.
Step 3: Flip your image

If you're doing this whole process at once, just click the "copy" button in the snipping tool window, then go back to Word and CTRL+V (or right click and choose paste from the pop up menu) to paste the image back onto the Word document. (You can delete the text you entered previously - we're going to be using the the image you "snipped" from here forward.)

Right click the image. On the menu that pops up, hover your mouse over "Text Wrapping", then click "In Front of Text". This will allow you to move the image around on the screen without getting hung up on the margins.

Click the corners and drag out to re-size the image to your desired size.

On the menu ribbon at the top of the screen, click "Format" tab. Click "Flip Horizontal". Your text should now appear backwards on the screen.
Step 4: Print your transfer
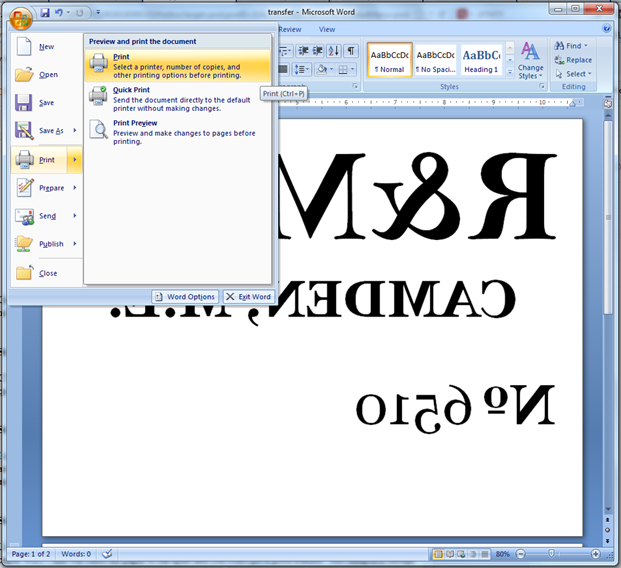
CTRL+P (or click print on the menu ribbon) and adjust your print settings to print the document using "best" quality. You want to make sure the ink is dark and bold so it will transfer well.
Step 5: Position your transfer

I recommend taping your piece of paper to your wood item, or at the very least, folding the edge down around your wood item to the paper doesn't shift during the transfer process. Either way, make sure the image is ink side down and positioned on the wood item where you want it to appear.
Step 6: Dampen the image

Using a damp sponge, sponge brush, or rag, dampen the image you're transferring. You don't want the paper WET - that will cause the paper to fall apart and you won't get a good transfer. Just dampen it enough that you start to see the image (or text) through the paper. Resist the urge to peek.
Step 6: Rub the image

Using a blunt, rounded object (I used a Sharpie marker lid), rub firmly over every part of the printed image to transfer it to the wood.

I found that sort of tracing the outline of each letter, then scribbling back and forth with the Sharpie lid inside my traced lines worked best for me.
Step 7: Remove the paper

That's pretty self explanatory. :-) The transferred image/text will be pretty faded. I like that look, so this is where I stopped. However, if you'd prefer a more bold look, continue to step 8.
Step 8: Touch up (optional)
In a small disposable container (such as a paper cup, etc.), mix a small squirt of black acrylic craft paint and water until diluted to your preference. Carefully touch up the image or text you transferred using a very small paint brush.Step 9: Distress the transfer (optional)
If you'd like a distressed look, lightly sand over parts of the transferred image/text. Or, transfer your image/text to unfinished wood, then distress, stain, stand, etc. as desired over the image to achieve a vintage, worn appearance.End Result

Here's my end result. Keep in mind, I did not touch up or distress my transferred text, since I was happy with the faded look on my crate. For future projects, I may or may not use Steps 8 and 9, depending on the project.
Have fun with this!
No comments:
Post a Comment